The Desktop Uploader system can be used to upload larger files up to 1GB in size and to upload large numbers of files or even entire folders. This is a Desktop based system which must be downloaded and installed on your computer.
Download the Desktop Uploader for PC or download the Desktop Uploader for Mac. You can also email us at support@medialightbox.com to get this ZIP file sent to you via email or download it via the Upload page in your Media Lightbox account. You must unzip the file and select the ‘setup.exe’ file. Double clicking on this file will automatically start the installation process and you should follow the on screen prompts to install the Bulk Uploader. When the Uploader has been successfully installed it will be displayed in your list of programs as ‘DesktopUploader’.
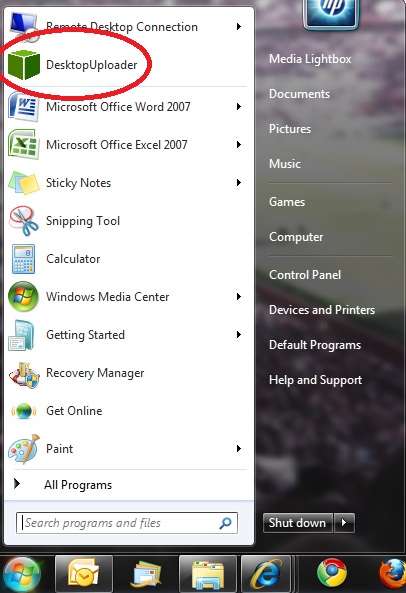
Select the program from your list of programs, as shown below:
When the Desktop Uploader program is selected the Login screen will appear, as shown below:
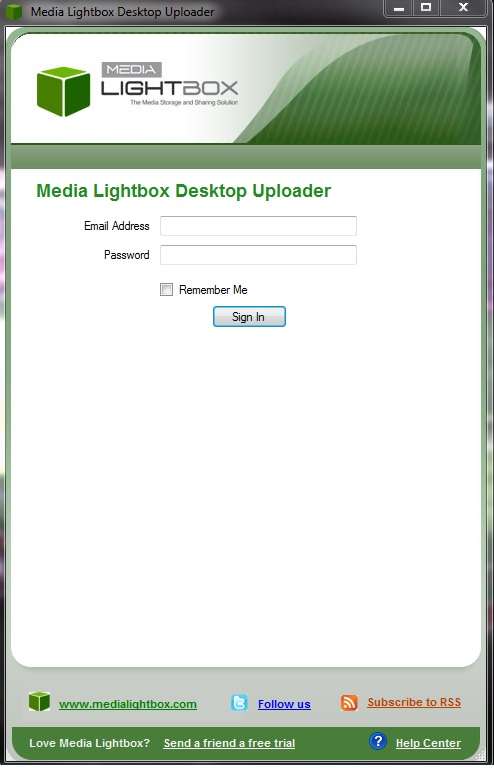
Enter your site login details, i.e.: your e-mail address and password. These are the same login details you use to log into your Media Lightbox site online.
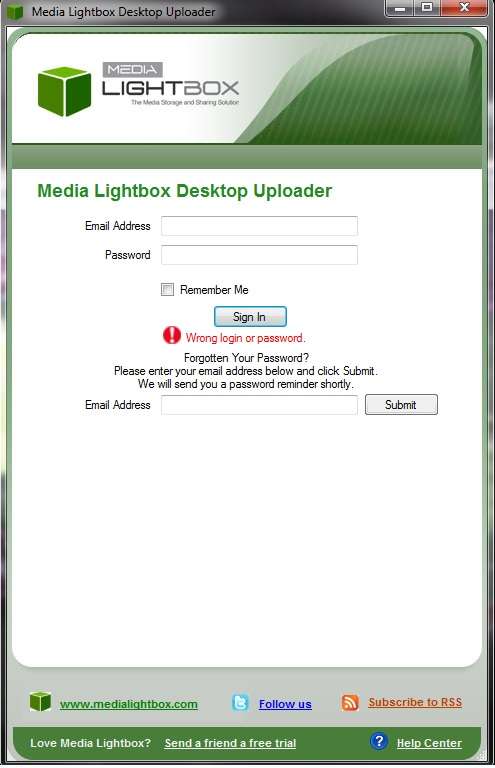
If you enter the incorrect login details a ‘Forgot Password’ prompt will be displayed allowing you to request a password reminder.
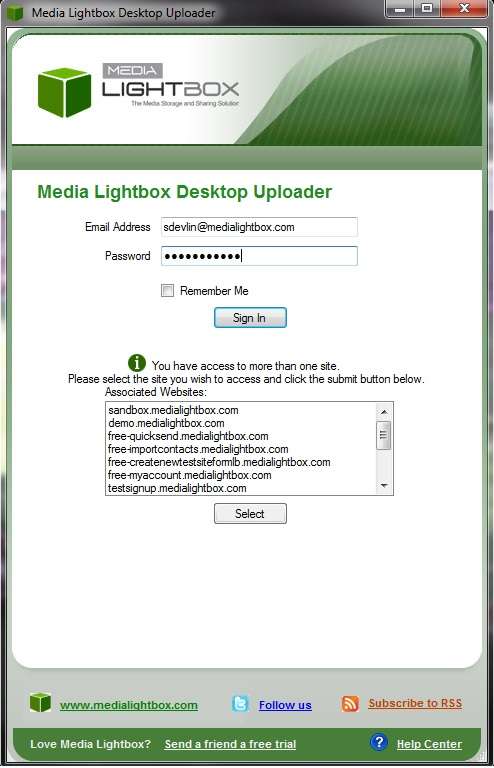
If you attempt to log into the desktop upload and you are associated with more than 1 site, a list of the sites that you are associated with will be displayed. Simply select the site you wish to upload your files to, and click on the ‘Select’ button to login.
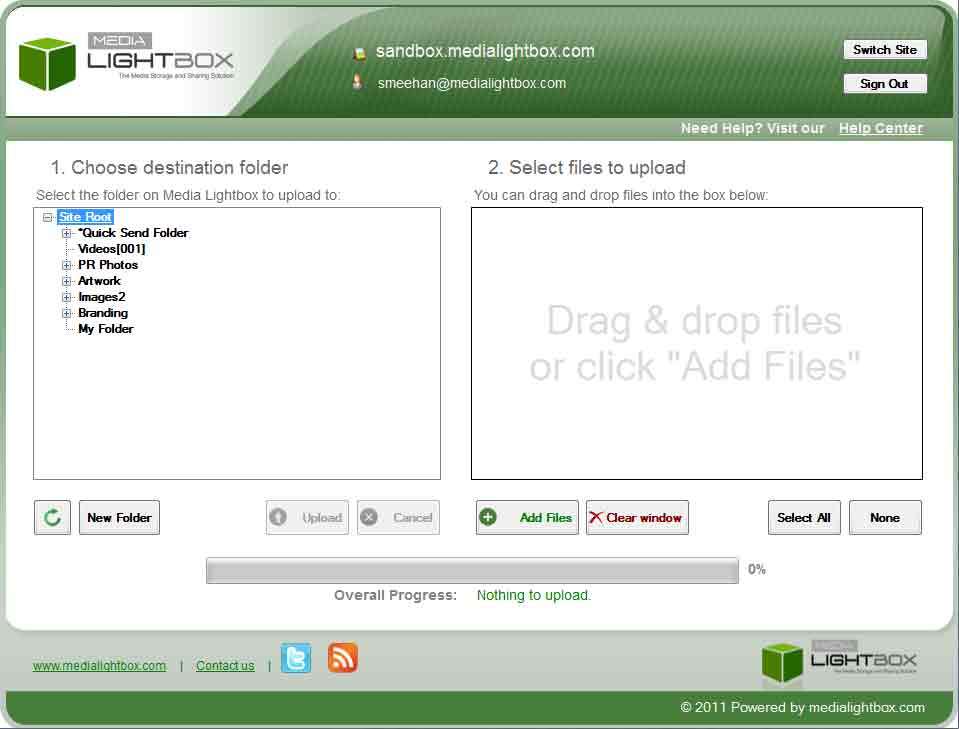
When you have successfully logged in, the following screen will appear showing any existing folders and sub-folders on your Media Lightbox site in the left hand pane entitled ‘1. Choose a destination’:
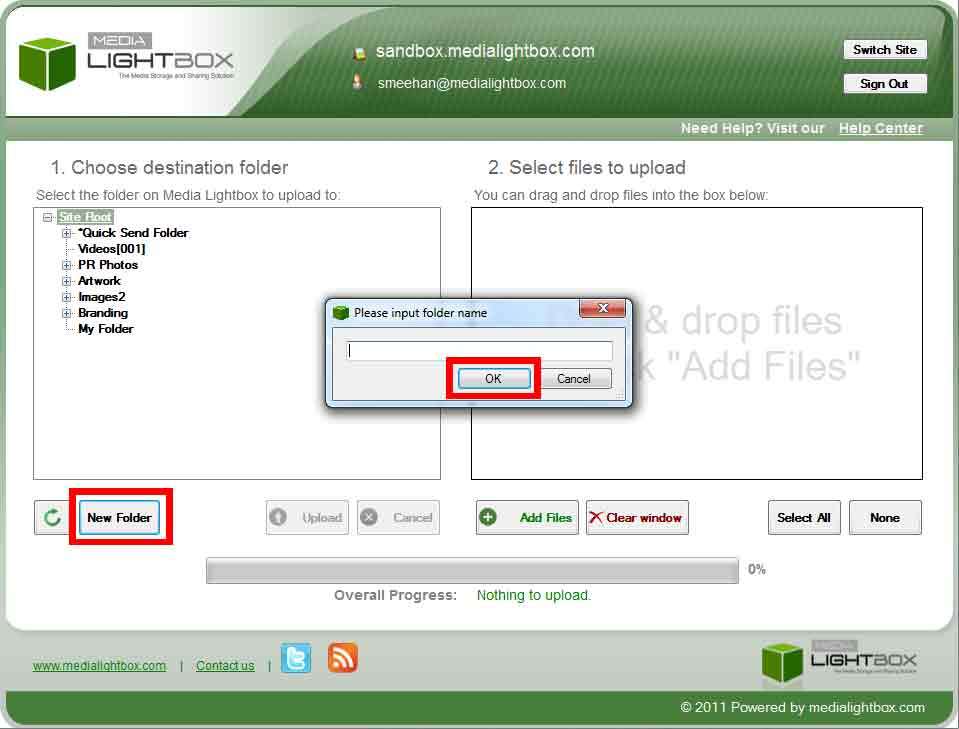
If you would like to add a new folder simply click on the ‘Add Folder’ button. A new window will appear where you simply enter a folder name and click on ‘OK’ when you wish to create the folder.
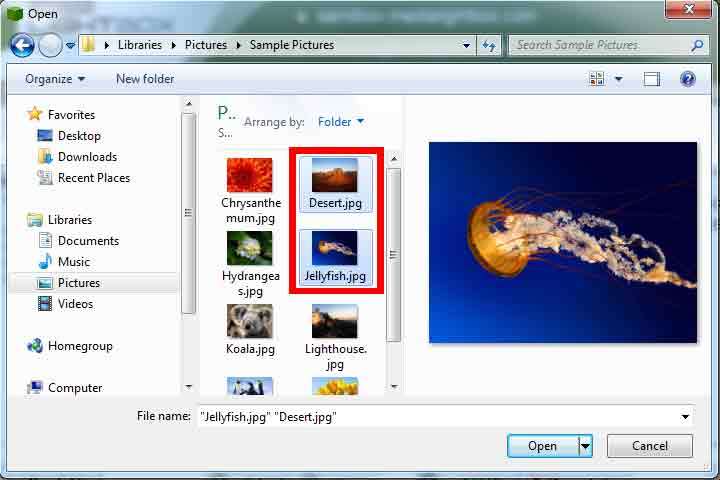
To upload a file or files simply click the ‘Add Files’ button. When this button is selected your local file directory will be displayed.
Select the files you want to upload by browsing to the appropriate location on your computer and highlight the files or folders you want to upload. When you have selected your files simply click on the ‘Open’ button. The files you select will be added to the ‘2. Select files to upload’ section and the local directory window will close.
Alternatively you can drag and drop your files into the ‘2. Select files to upload’ section. To do this, simply select the folder you wish to upload your files in the ‘1. Choose a destination’ section. Now open you local directory and select the files you wish to upload. Now drag these files into the ‘2. Select files to upload’ section.
You can upload a folder with all its’ sub-folders using the Desktop Upload system, simply by dragging and dropping the folder into the Desktop Uploader. This will save you considerable time having to manually create a number of folders and sub-folders.
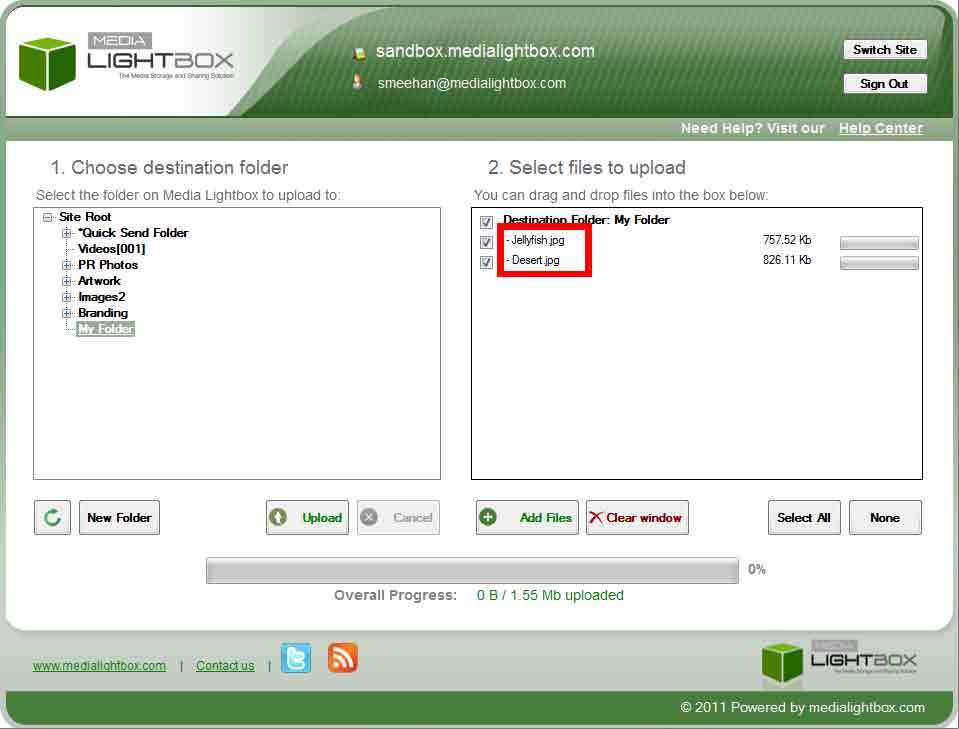
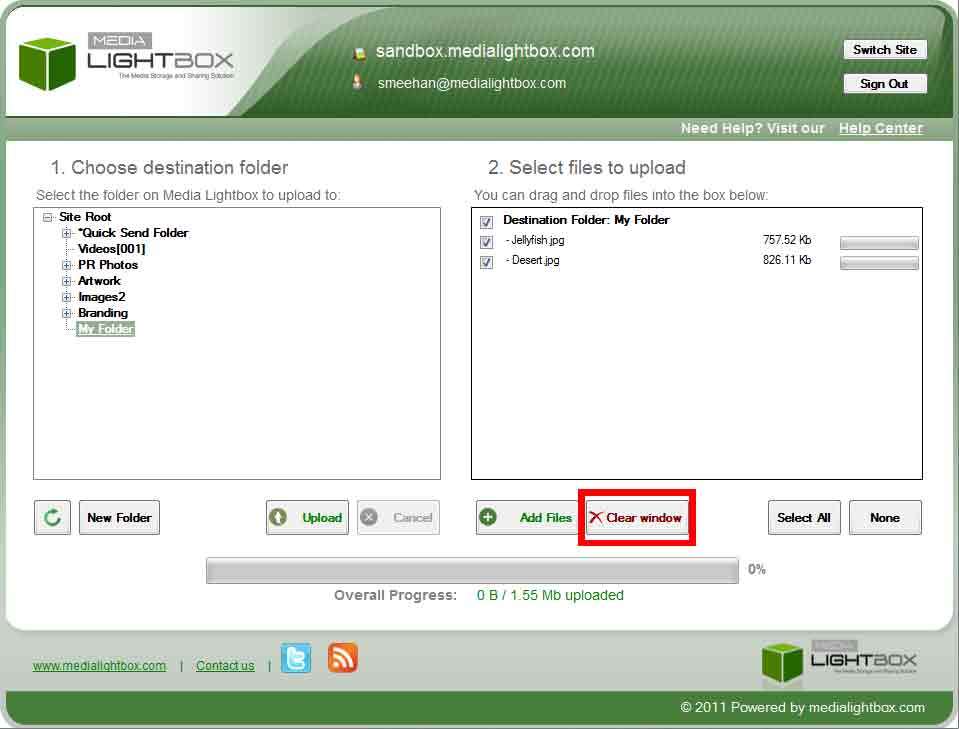
All the files you have dragged and dropped in the Desktop Uploader are displayed in the main window entitled ‘2. Select files to upload’.
At this point you can still select the ‘Add Files’ button and drag and drop more files into the Select files to upload pane. You can also remove files that you have decided not to upload by selecting the files checkbox and clicking the ‘Remove’ button as shown below:
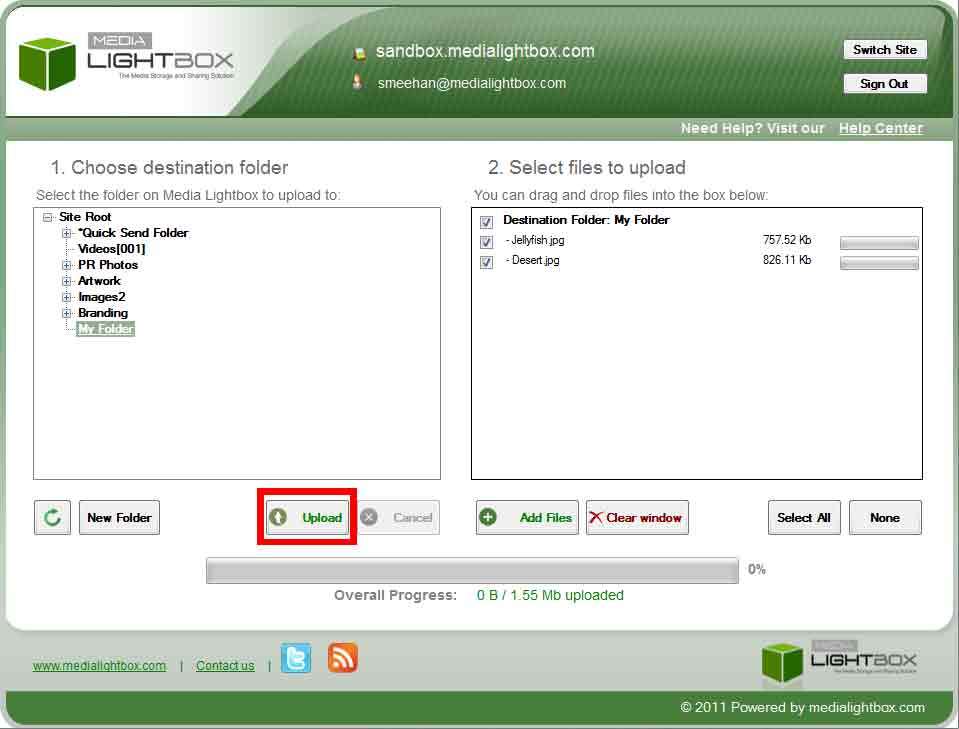
Now that you have finalised the files in the ‘Select files to upload’ pane you are ready to start uploading the files. Simply select the files checkbox (or click on the Select All button) then click on the ‘Upload’ button as shown below:
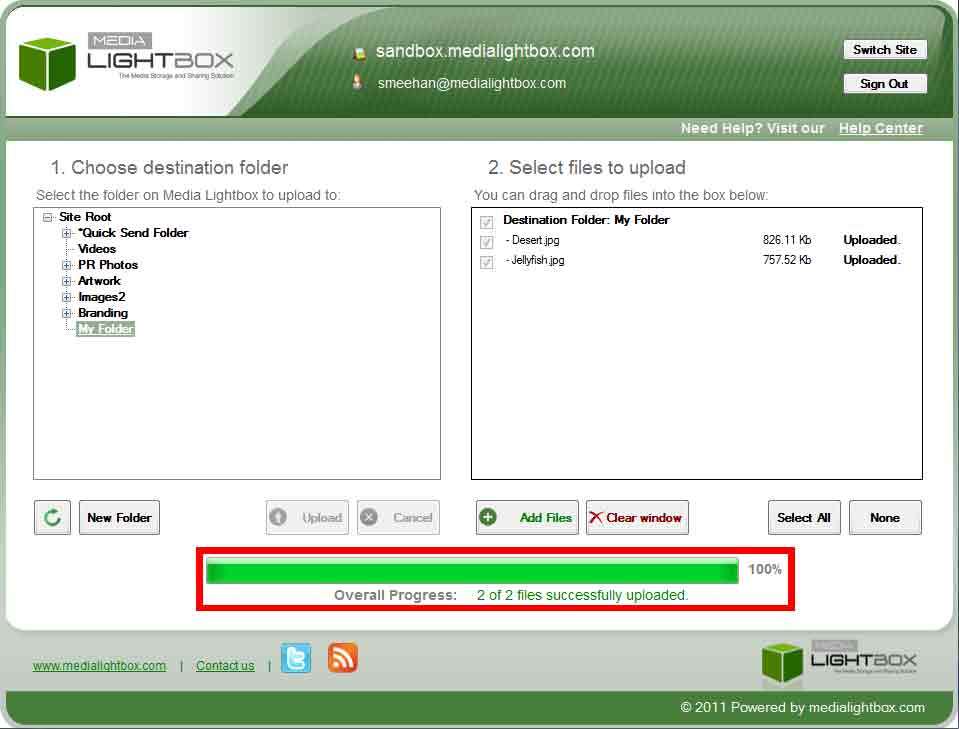
When the ‘Upload’ button is clicked the system will start uploading the files. There are 3 status indicators displayed. The first is beside the filename indicating the progress on the file. The second is the main progress bar, indicating the total progress of all files, and the third displays the total file size that has uploaded.

When the upload process completes the Overall Progress message will display – Upload Complete. There will also be a message beside each filename stating – Uploaded.
At this stage you can select new files to upload by dragging and dropping the files into the ‘Select files to upload’ pane. This will automatically replace the files that have been uploaded, or you can log out of the Desktop Uploader program by clicking the ‘Sign Out’ button.