Product Overview
Welcome
Welcome to the Media Lightbox Help Center. Here, you will be able to find a solution if you have a problem or are unsure about a Media Lightbox feature.
The Help Center is divided up into three sections. You are currently viewing the Media Lightbox Product Overview which is a bit like a User Manual. Use the navigation on the left to find out more about the Media Lightbox system.
The other two sections are Frequently Asked Questions (FAQ's) and a Solutions section, which informs you how Media Lightbox can benefit specific business requirements.
Need help getting started with Media Lightbox? View our Quick Start Guide below, which provides a brief overview on the main Media Lightbox features.
Quick Start Guide
It’s easy to get started with Media Lightbox and you can be sharing files within minutes. This Quick Start Guide will show you how to create folders, uplade files, add contacts and share files in 4 easy steps.
1) Creating a New Folder
To create a new folder, click on the “+” symbol beside the Folders tab. This will bring up the Create Folder pop-up, which allows you to enter the name of the new folder. To finalise the new folder, click Add Folder on the pop-up. If you click the “X” symbol on the pop-up, this will negate the creation of a new folder.
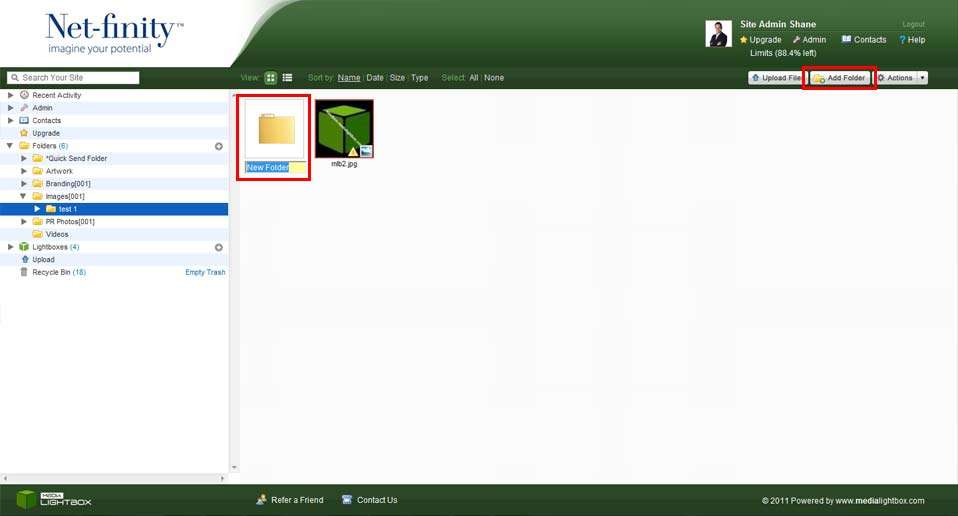
You can also create a new folder by clicking on the “Add Folder” button in the top-right hand corner of the screen, when in the folders section. This will automatically create a folder, which will then enable you to name the folder. If you click away from the folder without naming it, it will automatically use the default name.
2) Uploading Files to a Folder
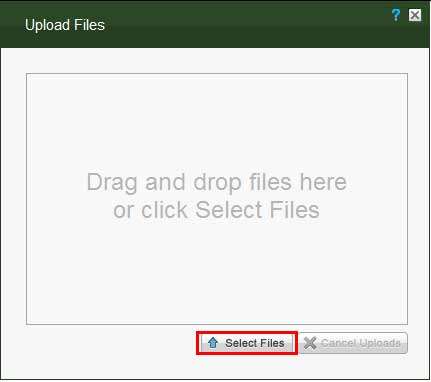
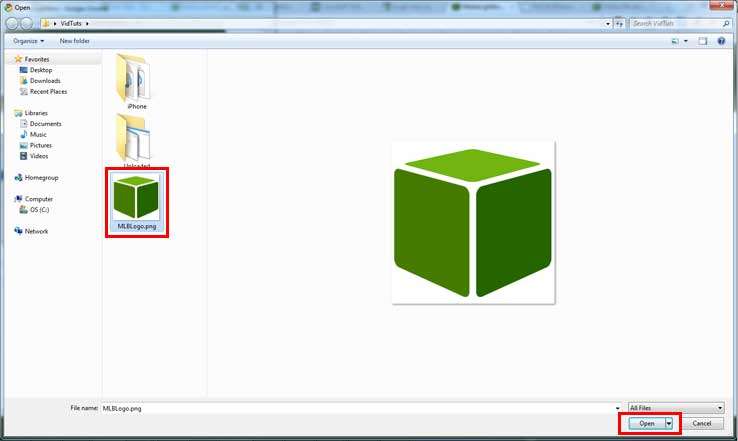
You can access the Upload section, by clicking on Upload Files in the top-right hand of the screen in the Folders section, or by clicking on the Upload tab on the navigation menu. Here you will have the option of downloading the Media Lightbox Desktop Application to upload files, or directly uploading them to a folder of your choice. If you decide to do this directly, then you click on the folder you wish to upload to, causing the Upload Files pop-up to appear. You can click on the Select Files button, to explore your computer for files to upload. Once you have found the files, highlight them and click Open. You can also drag and drop files from your computer directly into the pop-up to upload them.
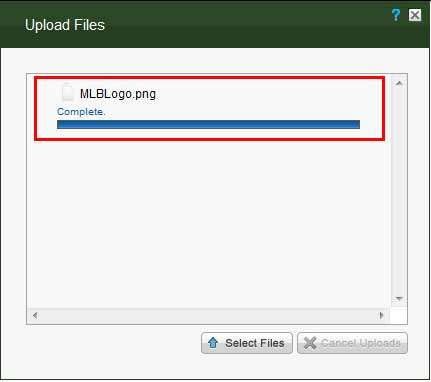
While a file is uploading, you can cancel the upload by clicking the “X” symbol. A prompt will be displayed when the file has finished uploading.
3) Adding a New User
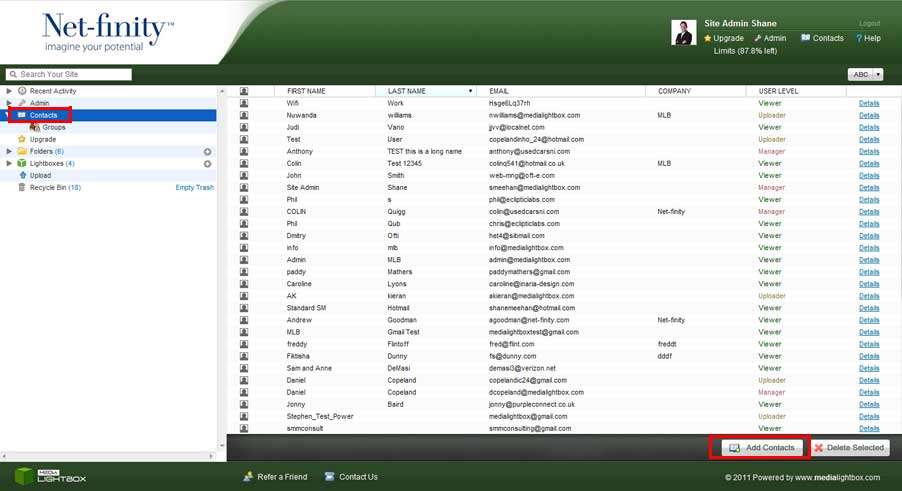
To add a new contact, click on the Contacts tab on the navigation menu. Next, click on the Add Contacts button in the bottom-left hand corner of the screen. This will take you to the Add a Contact screen, where you can add the contacts First Name, Last Name, Email Address and Company Name. The user level of the Contact can be selected by clicking on the User Level drop-down list.
You can also upload contacts from your email package by clicking on the Choose File button, selecting the appropriate file and clicking the Upload File Button.
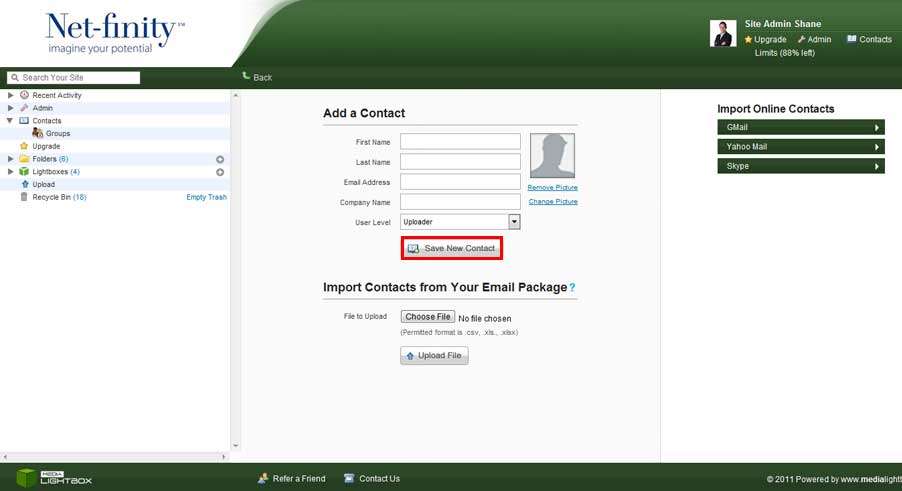
Furthermore, you can use the Import Online Contacts Menu on the right hand side to retrieve contacts from your Gmail, Yahoo Mail and Skype accounts, by clicking on the Import Contacts button for the relevant client. You can also add a photo for a contact by clicking the Change Picture button; clicking on Choose File and selecting a picture file to upload.
4) Sending Files
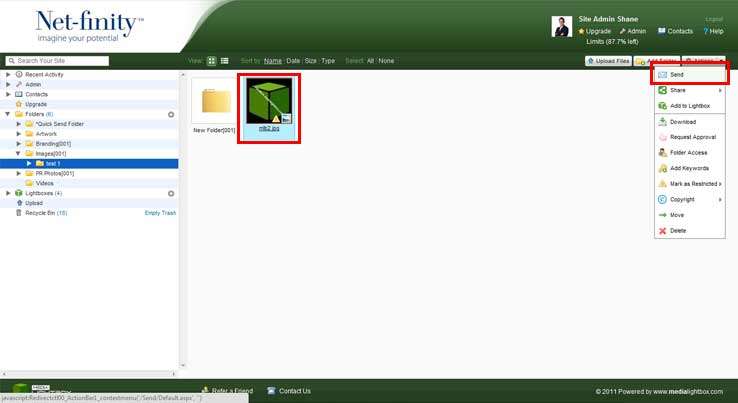
Files can be sent individually or as a group of files. To send a file highlight it by clicking on, or highlight a number of files to send by clicking and dragging to cover all the files you want send. Next, click on the Actions menu in the top-right hand corner, and click Send.
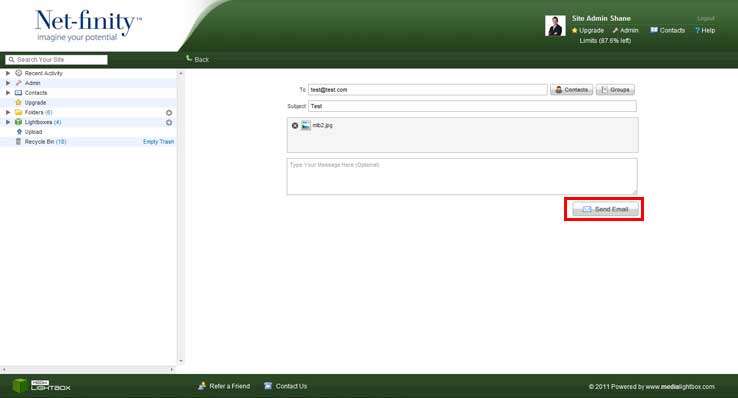
You will now be presented with a number of fields to fill in, including the email address of the recipient(s), the subject of the message and the message you wish to send. You can remove any files from being sent by clicking the “X” symbol next to the file.
You can add contacts to the recipients by clicking the Contacts button, ticking the tick-box next to the required contacts name and clicking the Add Selected button. You can also add groups to the recipients, by clicking on the Groups button, ticking the tick-box next to the required group’s name and clicking the Add Selected button.
You can edit a group’s members by clicking the Members hyperlink next to the group’s name or can delete a group by clicking the Delete hyperlink.
Finally, to send the files, you click the Send Email button.